USER MANUAL
CONTENTS
2.3.1 ADDR-- Address: Set DMX Address............................................................ 6
2.3.2 MODE-- WorkMode: Set Light work mode................................................... 6
2.3.5 ADVA--Advanced: Set light run parameter.................................................... 8
The product has perfect performance and integrity packing. All users should be strictly complying with the warning and operating instructions as stated. Or we aren’t in charge of any result by misusing. Any damage resulting by misuse is not within the Company’s warranty. Any fault or problem caused by neglecting the manual is also not in the charge of dealers.
Note: All information is subject to change without prior notice.
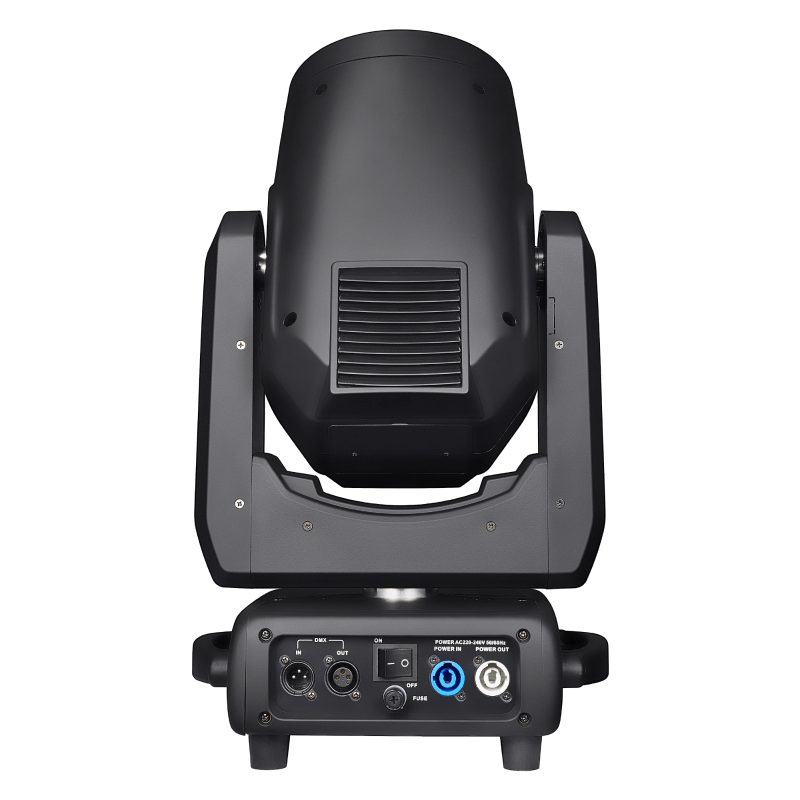
Use a cable conforming to specifications EIA RS-485: 2-pole twisted, shielded, 120Ohm characteristic impedance, 22-24 AWG, low capacity. Do not use microphone cable or other cable with characteristics differing from those specified. The end connections must be made using XLR type 3 or 5-pin male/female connectors. A terminating plug must be inserted into the last projector with a resistance of 120Ohm (minimum 1/4 W) between terminals 2 and 3.
IMPORTANT: The wires must not make contact with each other or with the metal casing of the connectors. The casing itself must be connected to the shield braid and to pin 1 of the connectors.
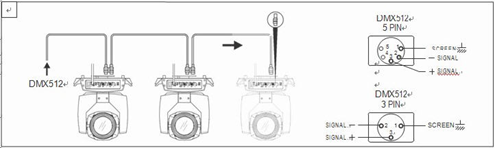
Figure 1 DMX Cable connection
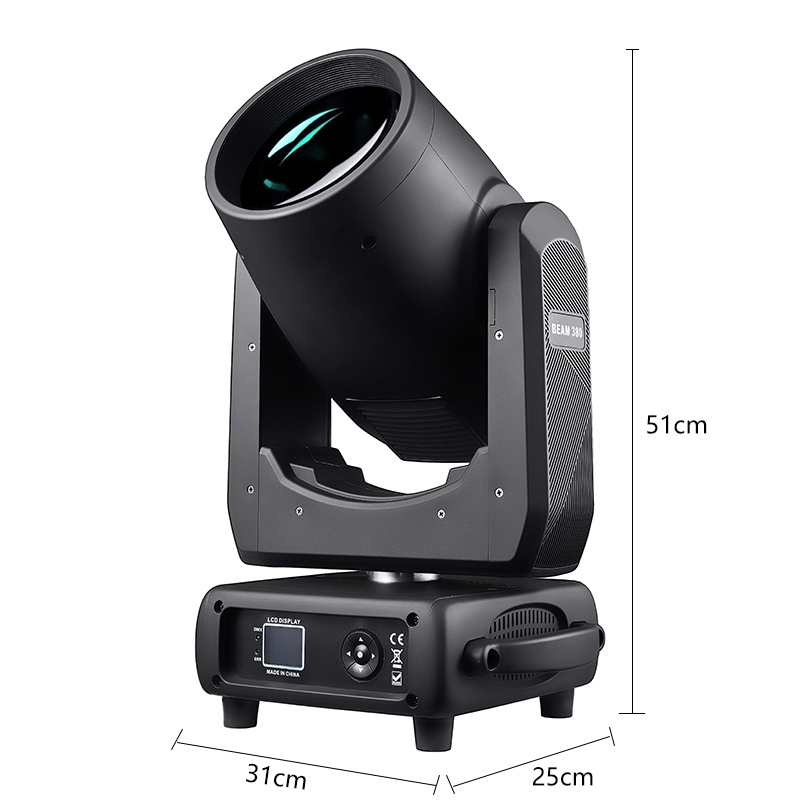
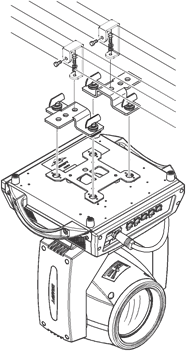
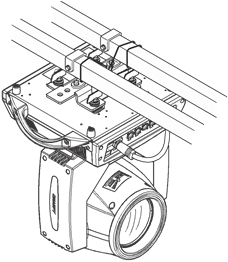
This equipment can be positioned and fixed by clamp in every direction of the stage. Locking system makes it easy to fasten to the bracket.
Attention! Two clamps is needed to fix the equipment. Every clamp is locked by fastener of 1/4 kind. Fastener can only be locked clockwise.
Attention! Fasten a safety string to the additional hole of side aluminum piece. The secondary accessory can not hang on the delivery handle. Nip the equipment on bracket.
 |
 |
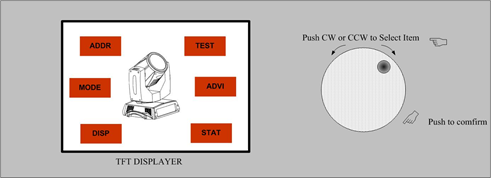
The light panel diagram show as Figure 3, Left area is TFT Displayer, support touch, and right area is KEY, both of touch and KEY can operate light and setting.
Display & operation just like ‘Android operation system’, touch the item will set or modify setting.
Note: Prevent damage the touch or TFT displayer, Can not use sharp objects chick displayer.
When the selected item is value need to been modified, the dialog shown in Figure 4 will popup.
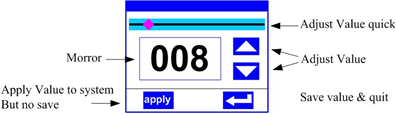
Figure 4 Dialog of value setting
Chick item of main menu, enter corresponding sub menu, shown in Figure 6, total 6 sub menu, includes class of parameter and status:
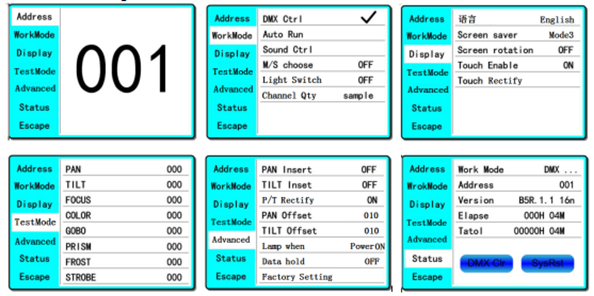
Via following operation, enter sub menu(parameter menu) shown in Figure 6
Click and select the "ADDR", can enter the page of DMX address setting, range from 1 to 512, the address code shouldn’t is not greater than (512- channels quantity), otherwise the light will not been controlled. Following is the operation:
Enter the page of DMX address, as shown in Figure 7, click the blank area in right side of display will pop-up diglog as in Fig. 4, modify value, then click ‘ENTER’ to confirm and save DMX address code.

Enter the page of ‘WorkMode’ as shown in Figure 8 and modify setting. Can set light work mode, control lamp and DMX channel mode.
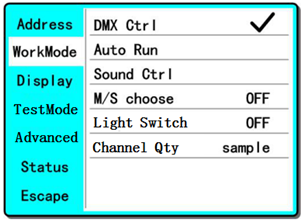
◆ DMX Ctrl: Choose to set DMX Mode,
◆ Auto Run: Choose to set Auto Mode,
◆ Sound Ctrl: Choose to set Sound Mode,
◆ M/S Choose:Available just in ‘AUTO RUN’ or ‘SOUND Ctrl’ mode.
ON-- Master. (Data will be send to other slave lamp immediately.)
OFF-- Slaver.(NOT send data to other lamp via DMX Cable).(Default)
◆ Light Switch:
ON-- Turn on the light,
OFF-- Turn off the light.
◆ Channel Qty: Light support 2 DMX Channel mode: sample or extend。
Simple -- 16CH.(Default)
Expand-- 20CH(or null).
Light support 2 language, rotation display,Enter page as shown in Figure9 to set parameter following:

◆ Language: English / 中文.
◆ Screen Saver: when panel is idle(these is no operation in 10 second), displayer will enter saver status.
OFF-- No screen saver.
Mode1-- Power-saving mode, turn off the display.
Mode2-- Displays the current address.
Mode3-- Displays the icon and the current working mode.(Default)
◆ Screen Rotion: To turning display.
ON-- Normal display.(Default)
OFF-- 180° turning display.
◆ Touch enable:Disable or enable touch function,.
ON-- Enable touch function.(Default)
OFF-- Dosable touch function.
◆ Touch adjust:Adjust touch function. Normally, not enter this item.
Enter the page as shown in Figure 10, Light will into test mode, in this mode, the light does not receive the data for DMX controller.:
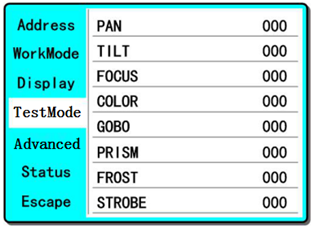
◆ PAN: range for 0 to 255;
◆ TILT: range for 0 to 255;
◆ FOCUS: range for 0 to 255;
◆ COLOR: range for 0 to 255;
◆ GOBO: range for 0 to 255;
◆ PRISM: range for 0 to 255;
◆ FROST: range for 0 to 255;;
◆STROBE: range for 0 to 255;
Enter the page as shown in Figure 10, set the parameter of light:
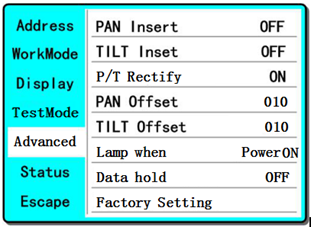
Figure 11 page of run parameter
◆ Pan Invert: Reverse PAN move
OFF-- Pan Normal move.(Default)
ON-- Reverse PAN move.
◆ Tilt Invert: Reverse TILT move
OFF-- Tilt Normal move.(Default)
ON-- Reverse Tilt move.
◆ P/T Rectify: Disable or enable position rectify function.
OFF-- Disable P/T rectify
ON-- Enable P/T rectify-(Default)
◆ Pan Offset: Set PAN original position. Default: 10
◆ Tilt Offset: Set TILT original position. Default: 10
◆ Lamp when:
PowerON-- Turn on the lamp when power on.(Default)
RstDone-- Turn on the lamp after reset.
Manual-- Manually turn on the lamp.
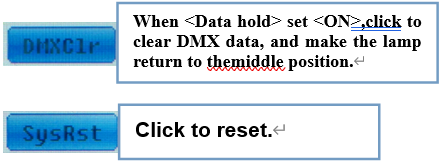
◆ Data hold:
OFF-- When no DMX signal,return to middle position.(Default)
ON-- When no DMX signal,stop in the final position.
◆ Factory Setting: Restore all parameter to factory setting.
Enter the page as shown in Figure 12:

◆ Work Mode: Show the current working mode.
◆ Address: Show the current address.
◆ Version: Show the version of the lamp.
◆ Elapse: Working hours after turn on.
◆ Tatol: Cumulative hours of operation
通道1 |
通道名 |
数值 |
描述 |
1 |
PAN |
0~255 |
Pan movement by 540 |
2 |
TILT |
0~255 |
Tilt movement by 270 |
3 |
PAN fine |
0~255 |
Fine control of pan movement |
4 |
TILT fine |
0~255 |
Fine control of tilt movement |
5 |
XY Speed |
0~255 |
Fast to slow |
6 |
Frost |
0~127 |
Close frost |
128~255 |
Insert frost |
||
7 |
Strobe |
0-3 |
Close |
4-103 |
Fadeout slow to fast |
||
104-107 |
Open |
||
108-207 |
Free Strobe slow to fast |
||
208-212 |
Open |
||
213-251 |
Pulse Strobe slow to fast |
||
252-255 |
Open |
||
8 |
Dimmer |
0~255 |
Dimmer intensity from 0% to 100% |
9 |
Color |
0-4 |
White |
5-9 |
White+Color1 |
||
10-14 |
Color1 |
||
15-19 |
Color1+Color2 |
||
20-24 |
Color2 |
||
25-29 |
Color2+Color3 |
||
30-34 |
Color3 |
||
35-39 |
Color3+Color4 |
||
40-44 |
Color4 |
||
45-49 |
Color4+Color5 |
||
50-54 |
Color5 |
||
55-59 |
Color5+Color6 |
||
60-64 |
Color6 |
||
65-69 |
Color6+Color7 |
||
70-74 |
Color7 |
||
75-79 |
Color7+Color8 |
||
80-84 |
Color8 |
||
85-89 |
Color8+Color9 |
||
90-94 |
Color9 |
||
95-99 |
Color9+Color10 |
||
100-104 |
Color10 |
||
105-109 |
Color10~Color11 |
||
110-114 |
Color11 |
||
115-119 |
Color11+Color12 |
||
120-124 |
Color12 |
||
125-129 |
Color12+Color13 |
||
130-134 |
Color13 |
||
135-139 |
Color13+Color14 |
||
140-144 |
Color14 |
||
145-149 |
Color14+White |
||
150-200 |
Forwards rainbow from fast to slow |
||
201-255 |
Backwards rainbow from slow to fast |
||
10 |
Gobo |
0-4 |
White |
5-9 |
Gobo1 |
||
10-14 |
Gobo2 |
||
15-19 |
Gobo3 |
||
20-24 |
Gobo4 |
||
25-29 |
Gobo5 |
||
30-34 |
Gobo6 |
||
35-39 |
Gobo7 |
||
40-44 |
Gobo8 |
||
45-49 |
Gobo9 |
||
50-54 |
Gobo10 |
||
55-59 |
Gobo11 |
||
60-64 |
Gobo12 |
||
65-69 |
Gobo13 |
||
70-125 |
Forwards rainbow from fast to slow |
||
126-130 |
Stop |
||
131-190 |
Backwards rainbow from slow to fast |
||
191-195 |
Gobo1 Shake,Slow to fast |
||
196-200 |
Gobo2 Shake,Slow to fast |
||
201-205 |
Gobo3 Shake,Slow to fast |
||
206-210 |
Gobo4 Shake,Slow to fast |
||
|
|
216-220 |
Gobo6 Shake,Slow to fast |
221-225 |
Gobo7 Shake,Slow to fast |
||
226-230 |
Gobo8 Shake,Slow to fast |
||
231-235 |
Gobo9 Shake,Slow to fast |
||
236-240 |
Gobo10 Shake,Slow to fast |
||
241-245 |
Gobo11 Shake,Slow to fast |
||
246-250 |
Gobo12 Shake,Slow to fast |
||
251-255 |
Gobo13 Shake,Slow to fast |
||
11 |
Prism1 |
0-127 |
Close Prism |
128-255 |
Insert Prism1 |
||
12 |
Prism2 |
0-127 |
Close Prism |
128-255 |
Insert Prism2 |
||
13 |
Prism.Rot |
0-127 |
0~400 degree |
128-187 |
Forwards rainbow from fast to slow |
||
188-195 |
Stop |
||
196-255 |
Backwards rainbow from slow to fast |
||
14 |
Colorful |
0-127 |
|
128-255 |
Insert colorful |
||
15 |
Zoom |
0~255 |
Zoom Large to small |
16 |
Reset |
100-105 |
Lamp Off (Over 3 seconds) |
200-205 |
Lamp on(Over 3 seconds) |
||
210-215 |
Reset XY(over 3 seconds) |
||
220-235 |
Reset effect moto(over 3 seconds) |
||
240-255 |
Reset all(over 3 seconds) |


AOPU Full Color 30KPPS Outdoor Laser Projector Laser Light Show Laser Lights for Night Club
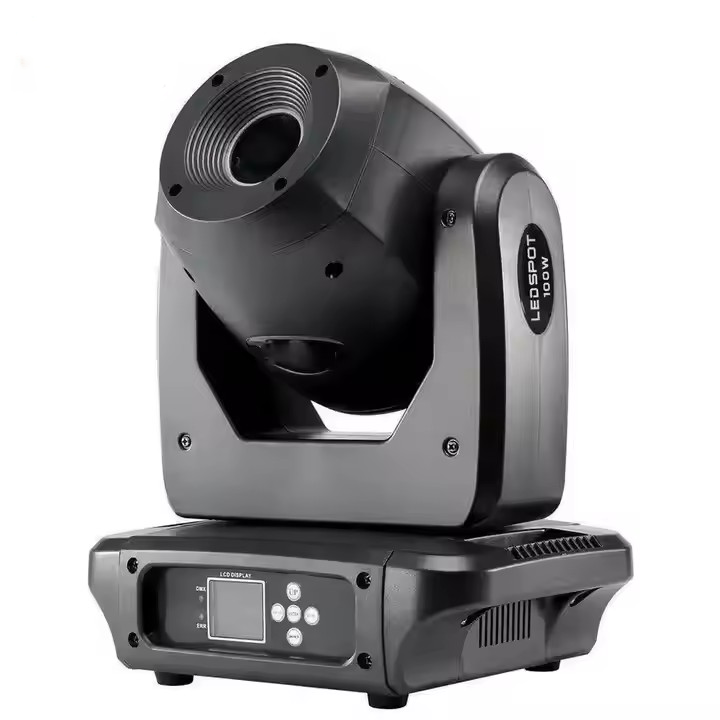
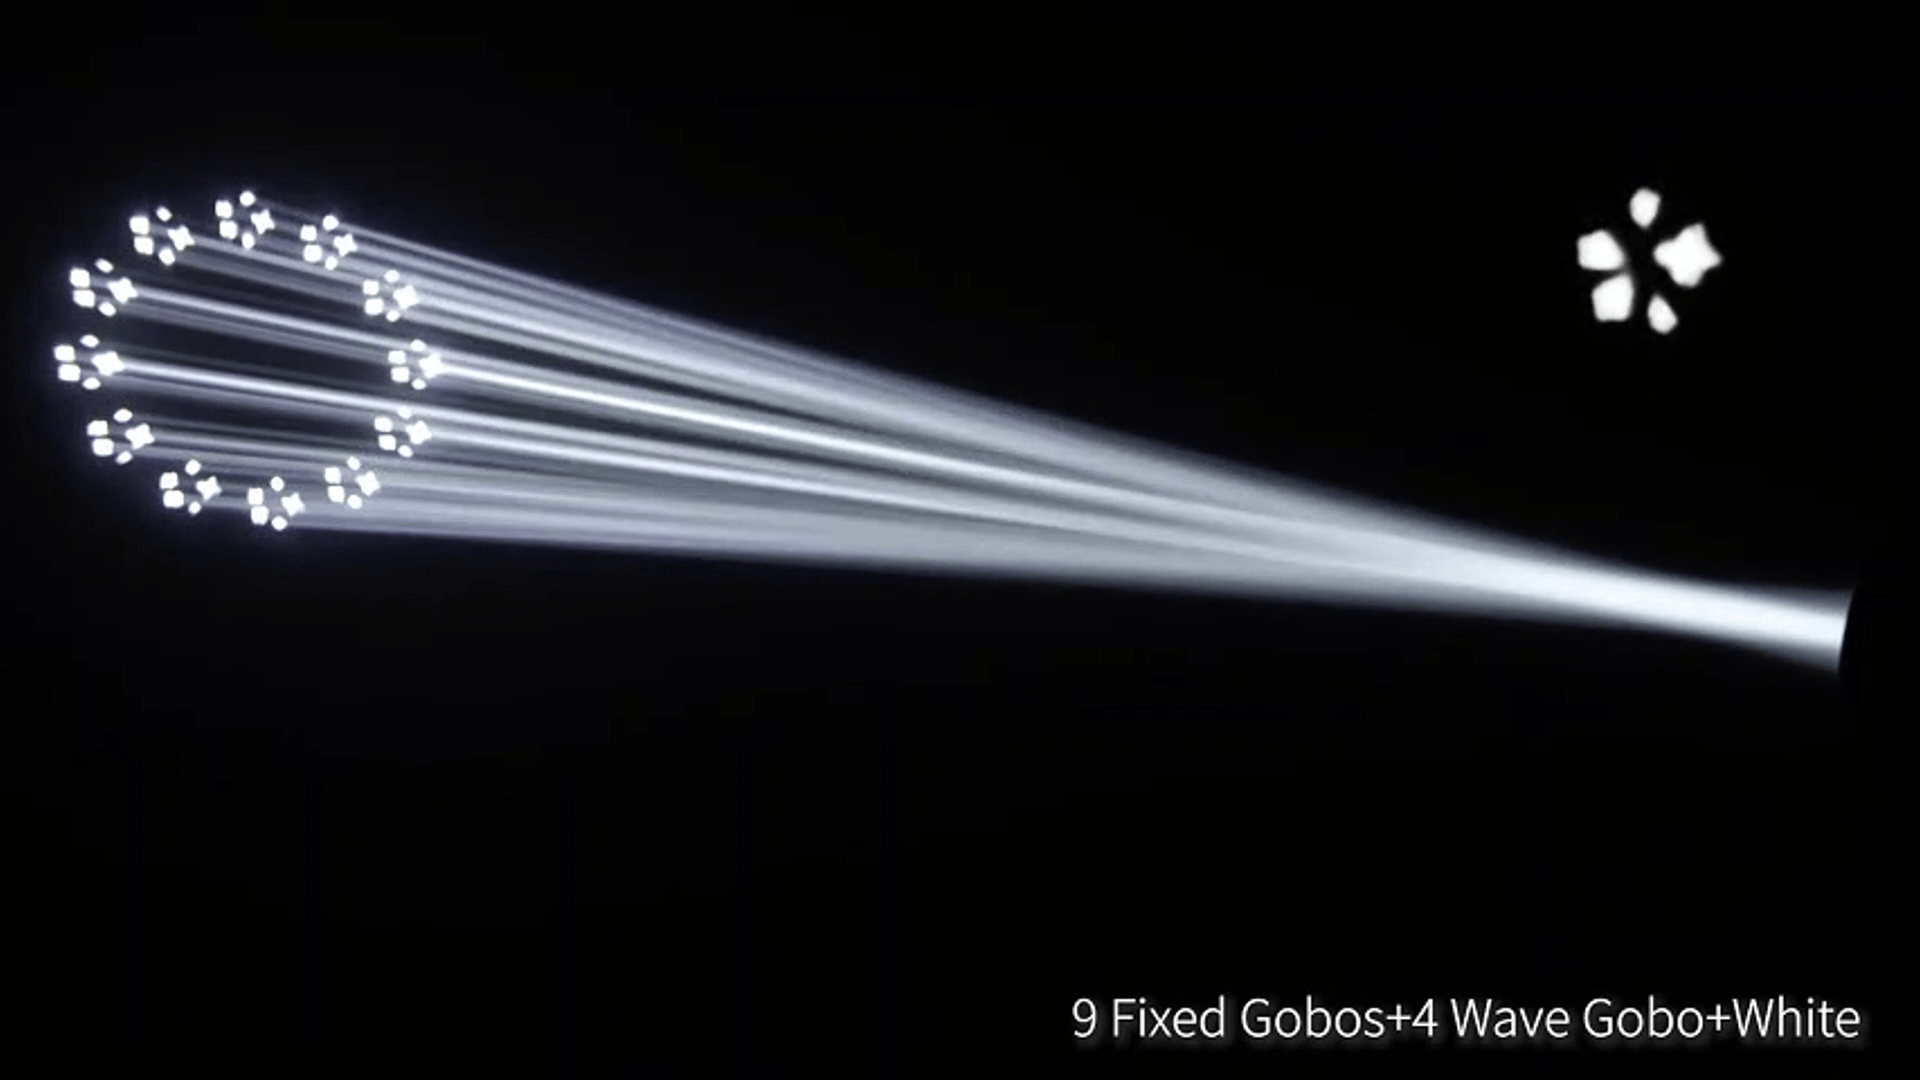
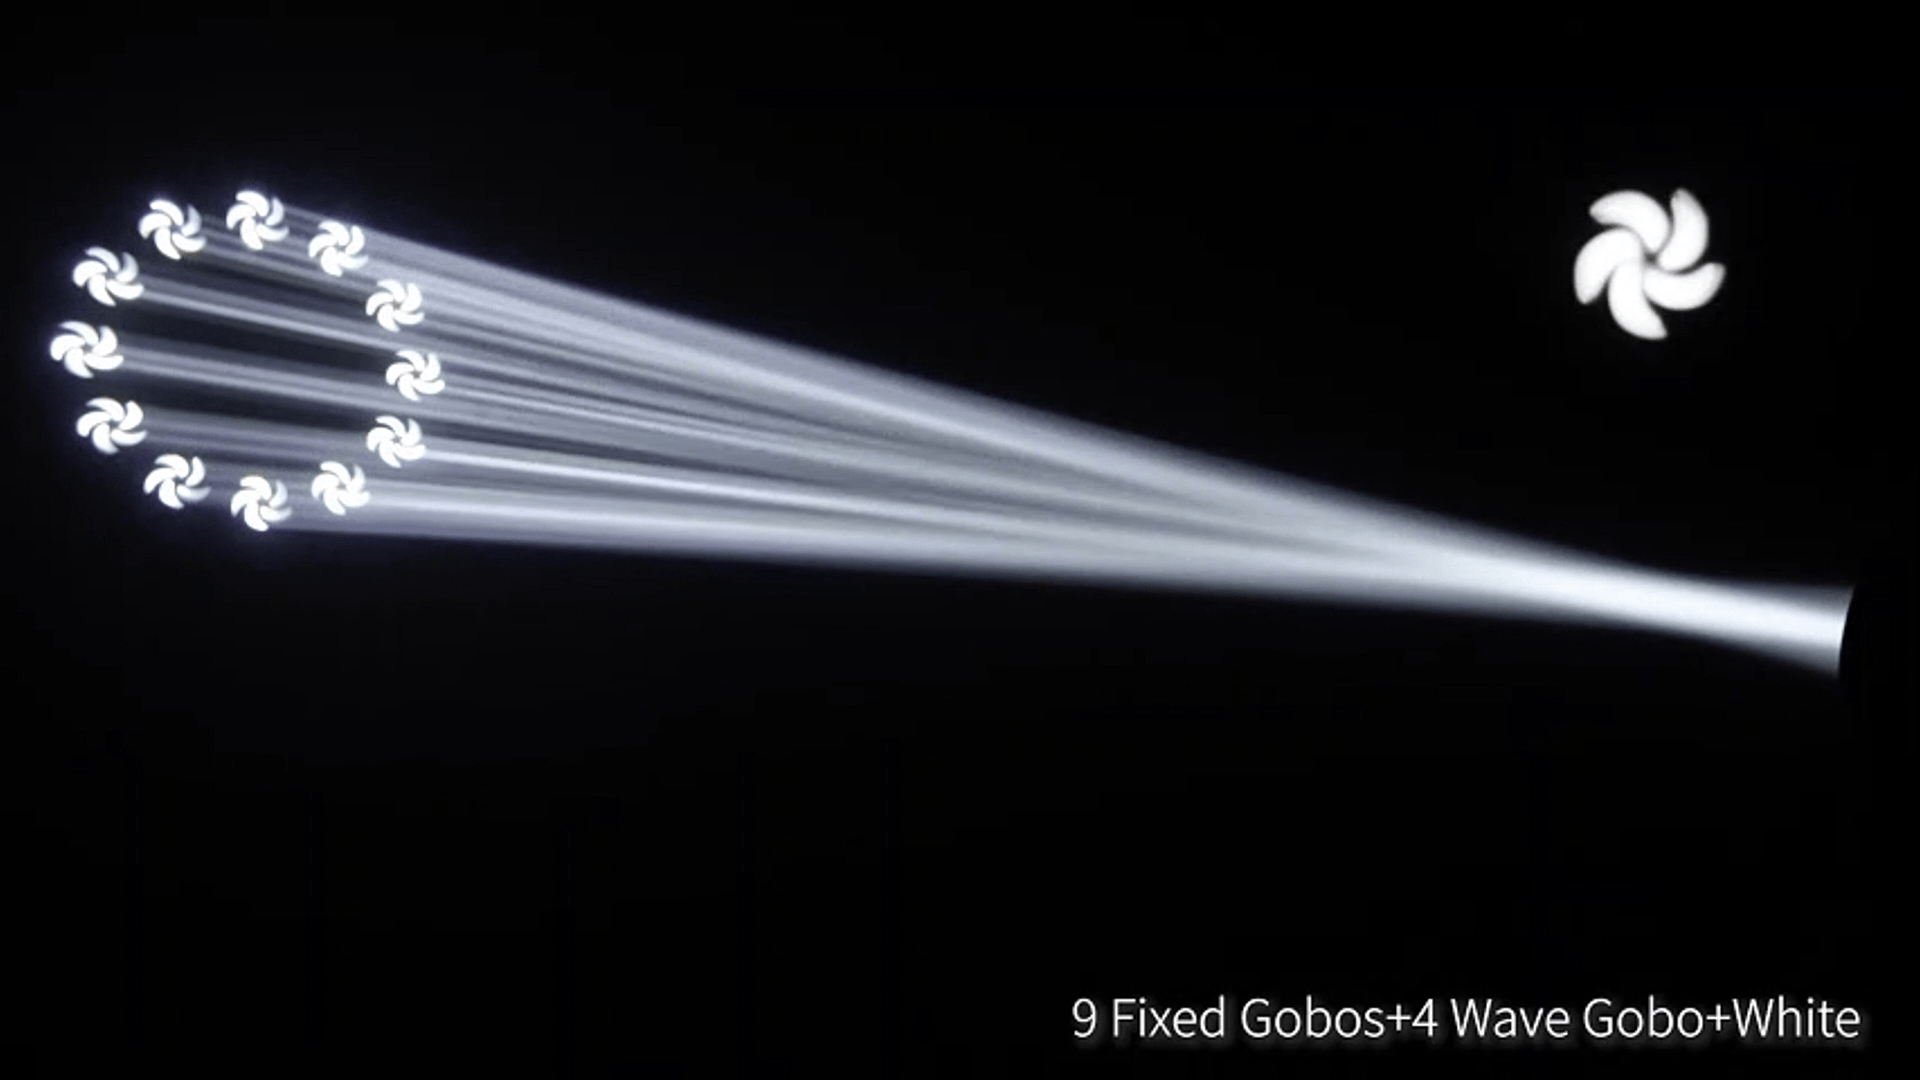
AOPU Professional 100W Mini Gobo Moving Heatd Stage Lights Moving Head Spot Light For Concert
AOPU 2023 Dmx 4 Heads Led Moving Head Beam Light Led Effect Laser Light Spot for Stage Effect Dj Light
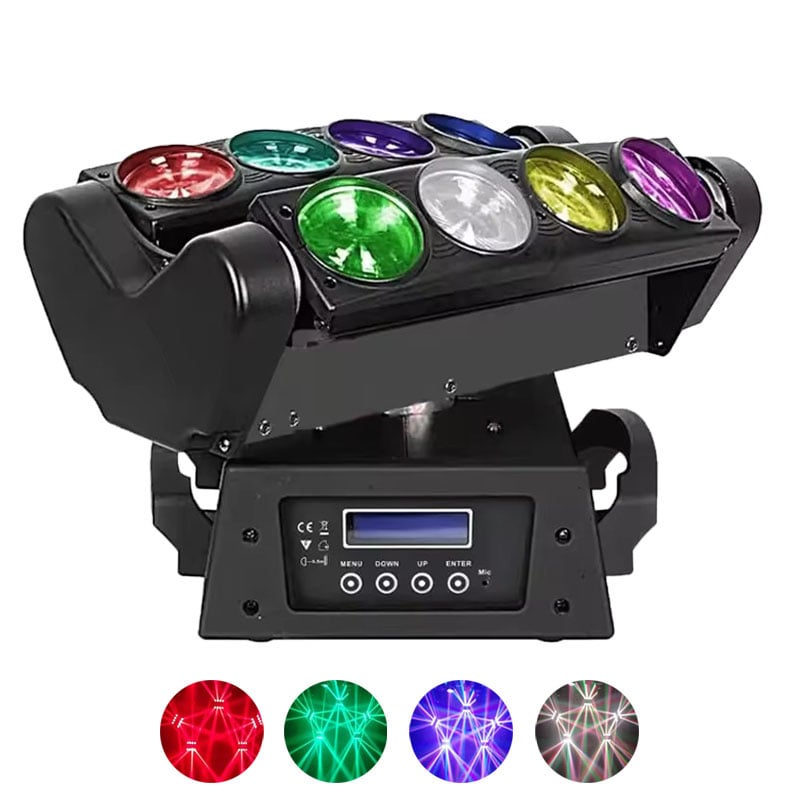
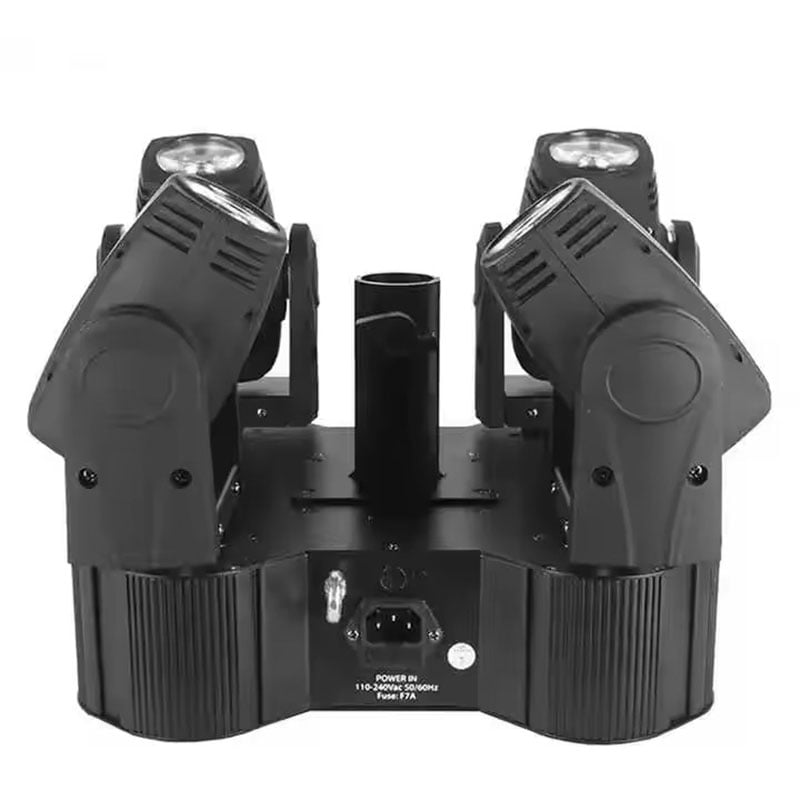
AOPU 8 Eyes Rgbw 4in1 Led Moving Beam Spider Stage Light for Disco Dj Dmx Light

Guangzhou Aopu Lighting Equipment Co., Ltd. offers a wide range of high-quality stage lighting products including LED lights, waterproof moving head lights, and more. Tailored solutions for theaters, concerts, and events.
3f-4f, No. 2 Building, Yongyi Road, Guangzhou, Guangdong, China
Copyright © 2026 Guangzhou Aopu Lighting Equipment Co., Ltd. All right reserved Privacy Policy